

Table Of Contents
Messaging
Bridge Operator Console users now have the ability to page another users phone.
Messaging and Paging
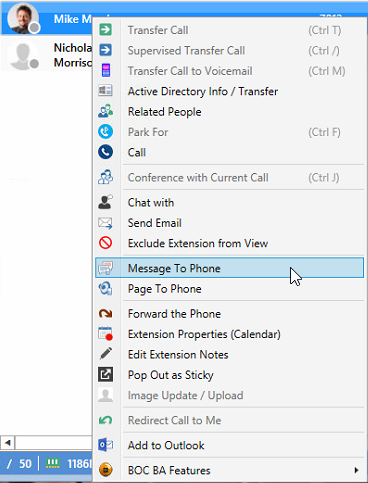
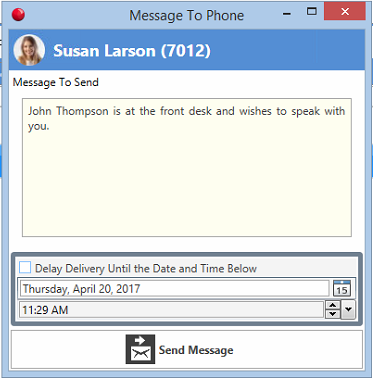
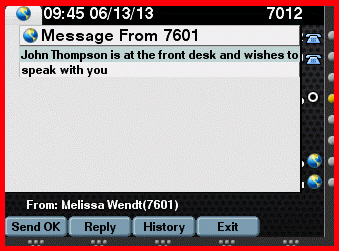
Bridge Operator Console users will have menu options upon right clicking on a given extension, allowing them to send a message to that phone.Messaging
Bridge Operator Console users now have the ability to page another users phone.
This is done using using uni-cast streaming for 1 to 1 and multicast streaming for 1 to many, and won't use either user's phone line or interrupt an existing call.
Paging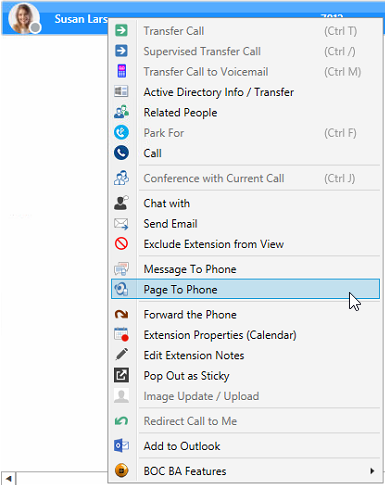
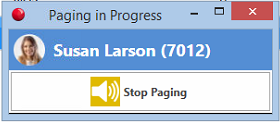
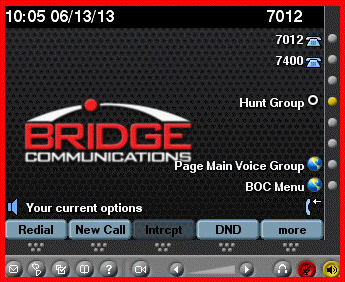
Paging


